
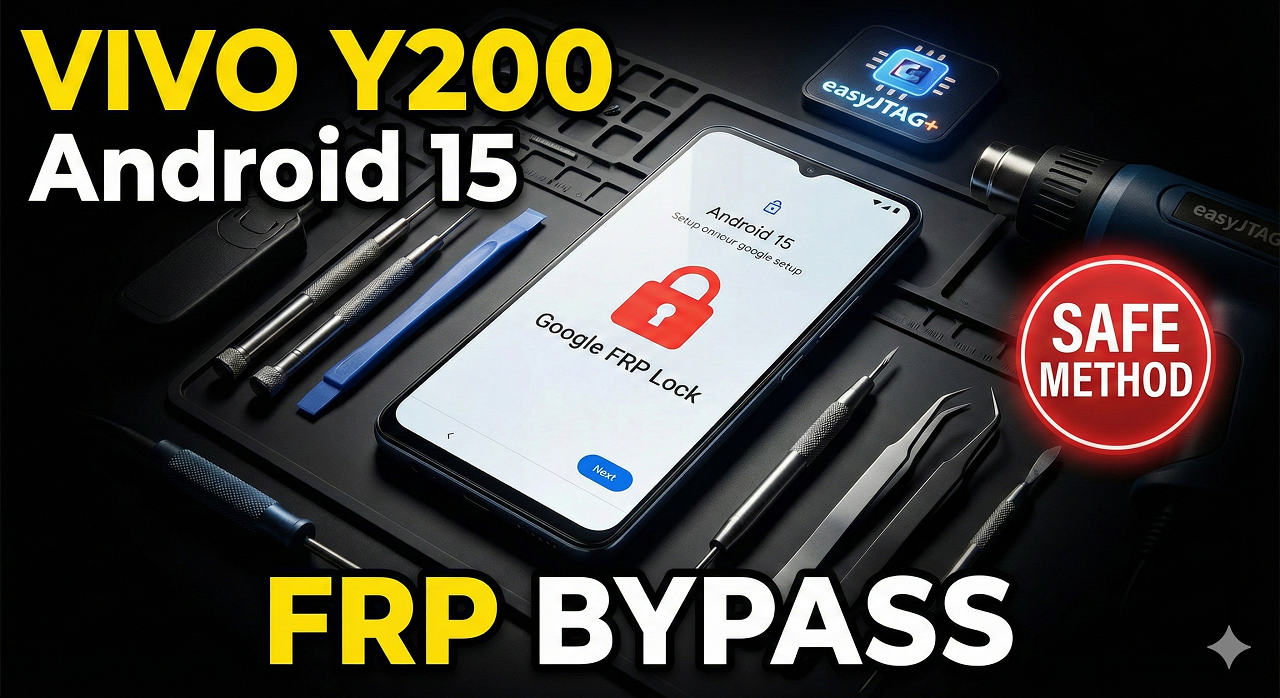
Vivo Y200 Android 15 FRP Bypass | SECRET Trick You Need To Know
Introduction
Vivo devices running the latest Android 15 and new security patch have become extremely hard to bypass using normal ADB or MTP exploits. The Vivo Y200 is one of those models where no OTA downgrade, no test point EDL, and no software-side tricks work.
The only method that works today is direct FRP erase via EasyJTAG Plus using UFS ISP connection. And because the Y200 board hides UFS pads under CPU lines, we use a safe CPU‑scratch method to expose pinouts.
This tutorial is written for professional technicians who work at hardware level. It includes:
- Vivo Y200 UFS pinout diagram (exposed method)
- How to scratch CPU shielding safely
- How to connect EasyJTAG Plus in ISP mode
- How to read & erase FRP partition
- Common errors & repair tips
For better understanding, watch this reference video:
If you need official Vivo firmware for flashing or dump files, check our Vivo Firmware Section on MobiFirms
Why FRP Bypass on Vivo Y200 Requires Hardware-Level Method
The Vivo Y200 uses the latest Android 15 security environment with:
- System Integrity enhanced
- New Vivo Secure Boot 5.0
- Anti-rollback and anti-downgrade enabled
- Blocked EDL mode
- Locked ADB without screen access
Due to these protections:
- No combination firmware
- No downgrade to lower security
- No Fastboot unlock
- No FRP bypass APK
- No dialer/test codes
Only UFS direct access allows us to erase FRP partition safely.
Tools Required for the Process
- EasyJTAG Plus Box (latest version)
- UFS Adaptor / ISP socket
- Microscope (minimum 40x)
- Fine engraving blade (for controlled scratching)
- Original Type‑C USB cable
- UFS test wires (0.1 mm)
- Soldering iron 100–150°C (low heat)
- Flux + cleaning solution
Step 1: Remove Back Cover & Access the Motherboard
Open the Vivo Y200 using heat gun at 150°C. Remove battery connector first to avoid shorting. Remove camera bracket, shielding plates, and then access the mainboard.
You will notice no visible UFS test points on the top layer. They are covered under CPU lines and need a controlled scratch.
Step 2: Safe CPU Scratch Method (Expose UFS Pinouts)
The UFS pads for Vivo Y200 are hidden under a thin resin coating. Using a sharp engraving blade:
- Place board under microscope
- Heat CPU area slightly at 100–120°C (softens coating)
- Slowly scrape the coating from the UFS line area
- Stop immediately when metallic tracks become visible
The safe scratch zone is located: Right side of CPU, under RF shield line — not under CPU core.
You will expose these essential pads:
- CLK
- CMD
- DATA0
- VCC
- VCCQ
- GND
After exposing pads, clean area with thinner/IPA and prepare for tinning.
Step 3: Solder ISP Wires to UFS Pads
Use ultra-thin 0.1 mm wire. Tin pads with low heat. Solder cleanly:
- GND → Any ground shield point
- VCC → 2.8–3.0V
- VCCQ → 1.8V
- CLK → CLK
- CMD → CMD
- DATA0 → D0
Use minimal solder to avoid bridging. Fix wires with UV glue.
Step 4: Connect EasyJTAG Plus in UFS ISP Mode
Open EasyJTAG Manager → UFS Tool → ISP Mode.
Set the following safe voltages:
- VCC: 2.8V
- VCCQ: 1.8V
Click: Detect UFS
If wiring is correct, you’ll see:
UFS Found: Samsung / Hynix / Micron UFS
Serial Number: Detected
Boot Status: OK
If not detected:
- Check CLK and CMD lines
- Lower wire length
- Reduce voltage drop
- Use fresh flux and re-tin pads
Step 5: Backup Important Partitions
Before FRP erase, always take backup of these:
- BOOT1 / BOOT2
- LUN0 — Full Dump (optional)
- USERDATA header only
This ensures device can be recovered in case of dead boot.
For full dump guides, refer to our eMMC/UFS Dump File Section.:contentReference[oaicite:2]{index=2}
Step 6: Locate & Erase FRP Partition (Vivo Y200)
In EasyJTAG → Partitions List, look for:
- frp
- persist
- misc
For Vivo devices, FRP is usually stored in FRP partition inside LUN0.
Erase Command:
Erase Selected Partition → FRP
Erase takes 1–3 seconds. After completion:
- Disconnect box
- Remove ISP wires
- Clean scratch area
- Reassemble board
Step 7: Power On the Phone
Once phone boots:
- No Google lock
- Setup wizard opens normally
- No verification required
FRP is successfully bypassed at hardware level.
Common Errors & Fixes (Technician Notes)
1. UFS Not Detected
- Bad soldering on CLK/CMD
- Ground not connected
- VCCQ too low
2. EasyJTAG Shows “UFS Initialization Error”
- Reduce wire length under 3 cm
- Remove oxidation from pads
- Retin DATA0
3. Device Dead After Removing Wires
- Short caused during soldering
- Broken CPU track due to deep scratch
- Check under microscope
If device becomes dead boot, check our UFS Repair Firmware Section.:contentReference[oaicite:3]{index=3}
Safety Warnings
- Do NOT scratch deep under CPU — only remove coating.
- Do NOT apply more than 3.0V on VCC.
- Do NOT heat CPU after wires are connected.
- Always disconnect battery before ISP wiring.
Why EasyJTAG Plus Works Best for Vivo Y200
EasyJTAG Plus offers:
- High-speed UFS access
- Automatic partition detection
- Safe voltage preset
- Advanced FRP erase scripts
For detailed EasyJTAG guides, refer to: EasyJTAG Plus Tool Guide:contentReference[oaicite:4]{index=4}
Conclusion
The Vivo Y200 Android 15 FRP Bypass is fully possible using the hardware-level UFS method. Software tricks do not work due to security patches, so EasyJTAG Plus and proper CPU scratch technique are the only reliable approach in 2025.
This guide helps mobile technicians perform the bypass safely and professionally. If you need more firmware, ISP pinouts, and repair tutorials, explore the full MobiFirms Blog.:contentReference[oaicite:5]{index=5}
Meta SEO Data
Meta Title: Vivo Y200 Android 15 FRP Bypass Secret Trick
Meta Description: Vivo Y200 Android 15 FRP Bypass using EasyJTAG Plus. Full UFS ISP pinout, CPU scratch method & FRP erase guide. 100% working hardware fix.
Custom URL Slug: vivo-y200-android-15-frp-bypass-secret-trick